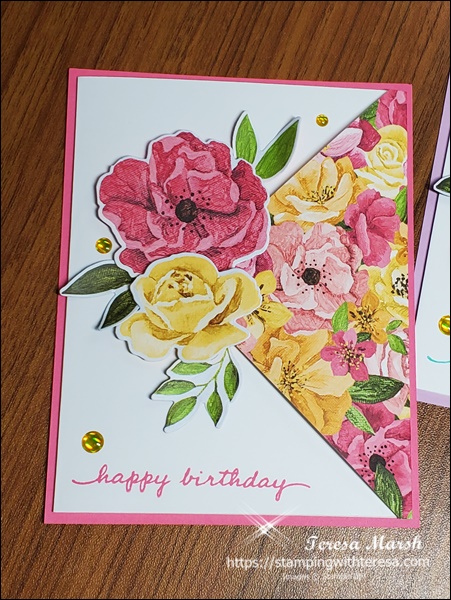
What a great name for a paper collection…Hues of Happiness!! The new Designer Series Paper (DSP) “Hues of Happiness” uses florals and gradations of color and mixes the two with a fantastic result! I saw a video by Linda Bedinger and just HAD to CASE her gorgeous example! I made several versions of this card in different color combinations, picking up my color choices for each card from the particular section of the DSP chosen for that card.
Steps to make the Hues of Happiness card
- First, I chose a paper that had different-colored flowers printed in rows on the paper. Using the mini Stampin’ Cut and Emboss Machine and the coordinating dies from the Happiness Abounds bundle, I cut flowers and greenery from the DSP and set these aside for embellishments.
- Next, I chose a multicolored floral from the DSP 12X12 and cut it in 4×4 squares. (If you choose the same sheet that I did, you will find that each of these nine pieces has a different prominent color theme which will guide the colors you choose for the rest of the card.) Score each 4×4 on the diagonal.
- Cut your Card Stock:
- Basic White: 5 ¼ x 8, scored at 4. Fold and burnish.
- Colored card stock to coordinate with your floral square (I chose Polished Pink for the example): cut your card stock in fourths; each 5 ½ x 4 ¼ piece can back a white card base.
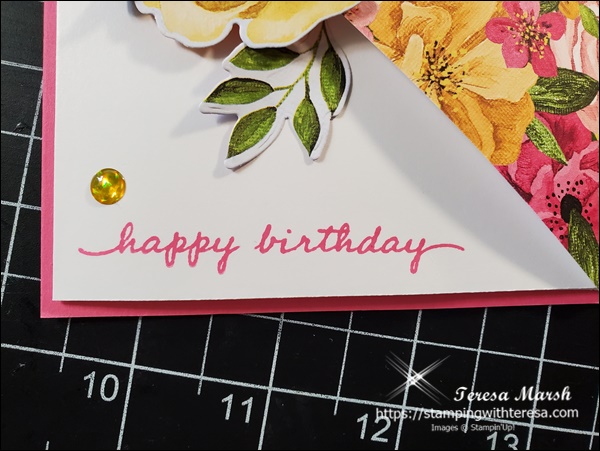
- Stamp your white base using an ink color that coordinates with your overall color theme. I used the “happy birthday” stamp on the front lower left, and “wishing you all the happiness you can imagine” inside the card.
- Glue (or tape) the DSP square to the card base by lining up the diagonal fold at the right side of the closed card base, and attaching it behind the card. Be sure to leave a bit of ease to allow the white card to close within that diagonal flap. Clip off any bit that hangs over the white card base using your paper snips. Glue (or tape) this card to your background piece of 5 ½ x 4 ¼ card stock.
- Choose die-cut flowers (from step 1) and attach to front of card with dimensionals to “just catch” the DSP flap; tuck the tip of the flap under your flowers. Arrange greenery and embellish with glossy dots.

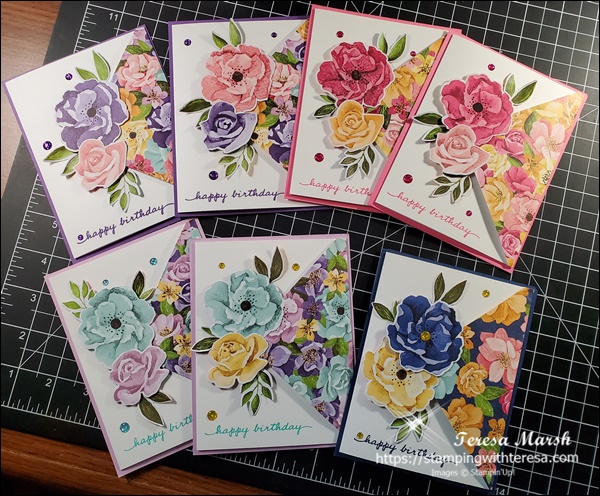
The multicolored Hues of Happiness paper can create a multitude of color schemes using this card design.
Products utilized in this project
Best wishes to you all!! Teresa